MFD800C Ultrasonic Flaw Detector Mitech
Rp123
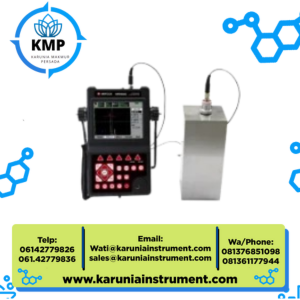
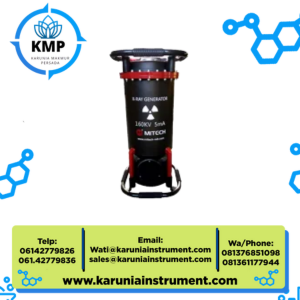
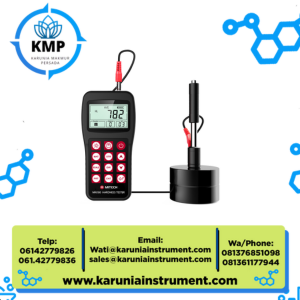
The Mitech MFD800C Ultrasonic Flaw Detector is a high-performance digital instrument designed for precise non-destructive testing (NDT) of internal flaws in materials such as metals and composites. With a wide measuring range up to 9999 mm (at steel velocity) and an advanced 640×480 TFT LCD display, it enables users to quickly identify and evaluate defects including cracks, air holes, and voids.
MFD800C Ultrasonic Flaw Detector – Mitech
Product Overview
The Mitech MFD800C Ultrasonic Flaw Detector is a high-performance digital instrument designed for precise non-destructive testing (NDT) of internal flaws in materials such as metals and composites. With a wide measuring range up to 9999 mm (at steel velocity) and an advanced 640×480 TFT LCD display, it enables users to quickly identify and evaluate defects including cracks, air holes, and voids.
Built to IP65 protection standards, this device is waterproof, dustproof, and oil-resistant—ideal for rugged industrial environments. It features intelligent signal processing, large memory capacity, video recording, and intuitive controls, making it a powerful and user-friendly tool for quality assurance and structural integrity inspections in industries such as petrochemical, shipbuilding, aviation, and power generation.
Key Features
-
Wide measuring range from 0 to 9999 mm (at steel velocity)
-
High-resolution 640×480 TFT LCD for optimal display clarity
-
Intelligent flaw detection using narrowband filters, spike pulser, and square wave pulser
-
Adjustable gate position, width, and height with LED and beep alarms for accurate defect detection
-
Supports storage of 1000 groups of flaw detection parameters and up to 10,000 inspection records
-
Video recording feature allows saving up to 15 hours of inspection footage for review and analysis
-
Real-time clock automatically timestamps inspection data
-
USB 2.0 interface for quick data transfer and report creation
-
High-performance lithium battery enables over 8 hours of continuous operation
-
Digital shuttle rotary wheel, shortcut keys, and multi-language support for easy operation
-
Compact and lightweight design (1.8 kg) for portable use in the field or lab
Applications
-
Weld inspection for detecting internal cracks, porosity, and incomplete fusion
-
Forgings and billets inspection to ensure material consistency
-
Axle and shaft testing for detecting stress-related or rotational fatigue defects
-
Pressure vessel and storage tank evaluation for corrosion and thickness monitoring
-
Turbine and structural component testing in power plants and construction projects
Technical Specifications
-
Brand: Mitech
-
Model: MFD800C
-
Measuring range: 0 to 9999 mm (based on steel sound velocity)
-
Horizontal resolution accuracy: ±0.2% of full screen width (FSW)
-
Vertical linearity: ±0.25% of full screen height (FSH)
-
Amplifier accuracy: ±1 dB
-
Display type: 640×480 pixel TFT LCD
-
Data storage:
-
1000 groups of parameter channels
-
Up to 10,000 test records
-
-
Video recording capacity: up to 15 hours
-
Interface: USB 2.0
-
Operating time: more than 8 hours of continuous use
-
Power supply: rechargeable lithium-ion battery
-
Protection level: IP65 (resistant to water, oil, and dust)
-
Operating temperature: -10°C to +50°C
-
Storage temperature: -30°C to +50°C
-
Relative humidity: 20% to 95% RH
-
Main unit weight: 1.8 kg
-
Main unit dimensions: 280 × 220 × 70 mm
-
Package dimensions: 44.5 × 37 × 14 cm
-
Total shipping weight: 5.5 kg
Operating Principle
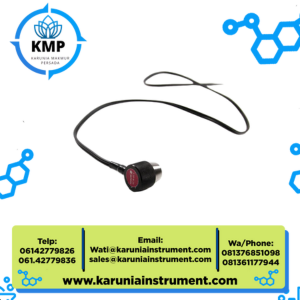
The MFD800C works using the ultrasonic pulse-echo method. An ultrasonic wave is emitted from a probe into the material. When the wave encounters a discontinuity, part of it reflects back to the probe. By measuring the time delay and signal amplitude of the returned echo, the device calculates the depth, location, and nature of the flaw.
Measurement Best Practices
-
Always calibrate the device using reference standards before testing
-
Apply a suitable couplant between the probe and test material for accurate signal transmission
-
Select the proper probe type and frequency for the material and flaw size
-
Use video recording for detailed defect analysis and documentation
-
Clean the instrument after use and store it in a dust-free, non-corrosive environment
Maintenance and Support
-
Clean using a soft cloth and mild solution—do not use alcohol or solvents
-
Recharge battery regularly and avoid complete discharges to extend battery life
-
Store in the original packaging for transport and protection from impact
-
Contact Mitech or authorized service agents for technical support
-
Comes with warranty and lifetime maintenance service when purchased through official channels


Reviews
There are no reviews yet.